Know Your Barrels

Published On - September 20, 2022

By Amy TesconiAmy Tesconi

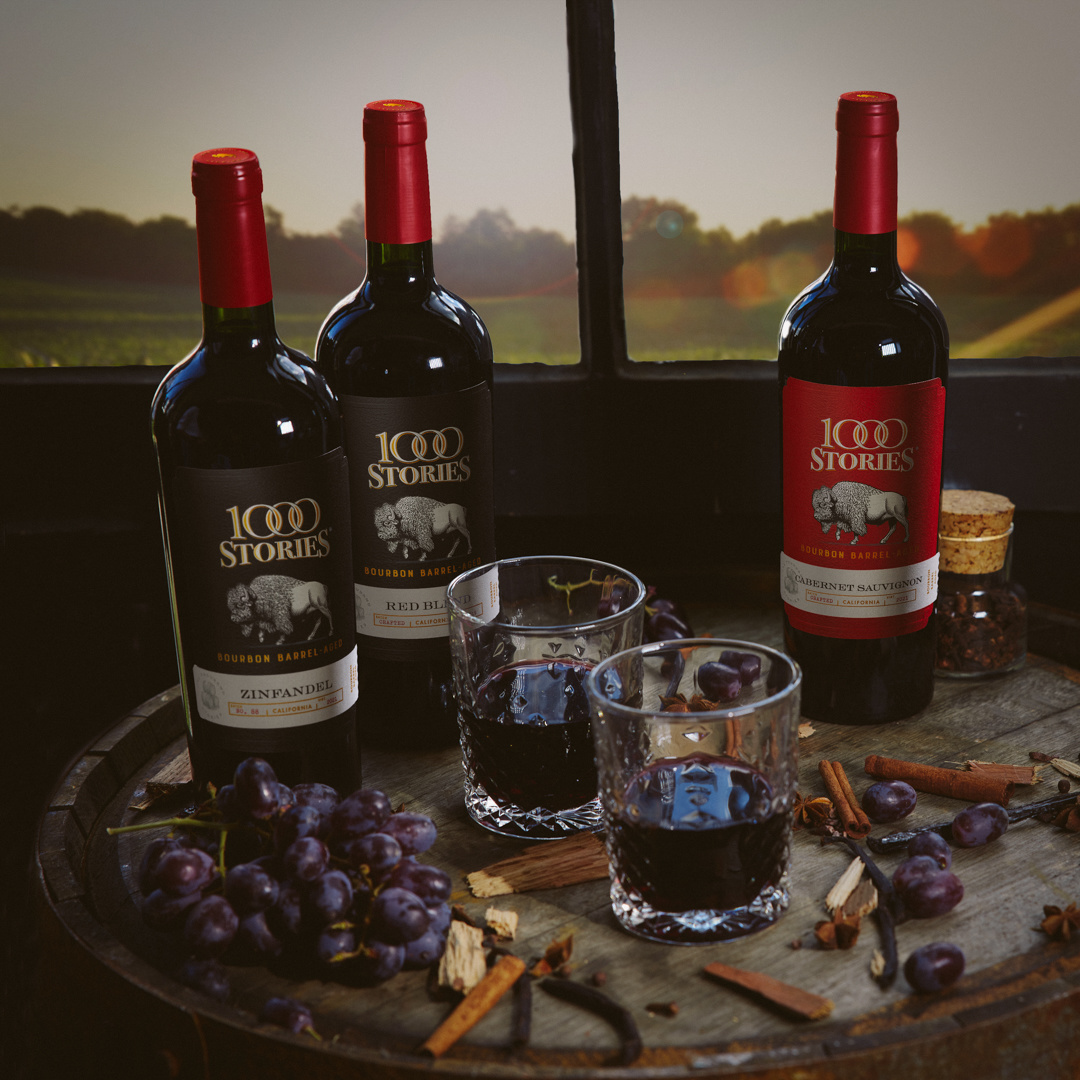
Each batch of 1000 Stories goes on a journey guided by our winemaker, Sebastian Donoso, to become the bold wine you will eventually enjoy. An important part of that journey, and the winemaking process, is deciding what the barrel ageing process will be for each wine.

Wine barrels are used to impart distinct notes into the wine – some soft, some bold. Different aromas and flavors are added depending on the type of barrel used. Here at 1000 Stories, we use Bourbon barrels, American oak and French oak, depending on the flavors our winemaker wants to add. Use the simple information below to learn more about the different barrels and how they are used to make 1000 Stories wines.

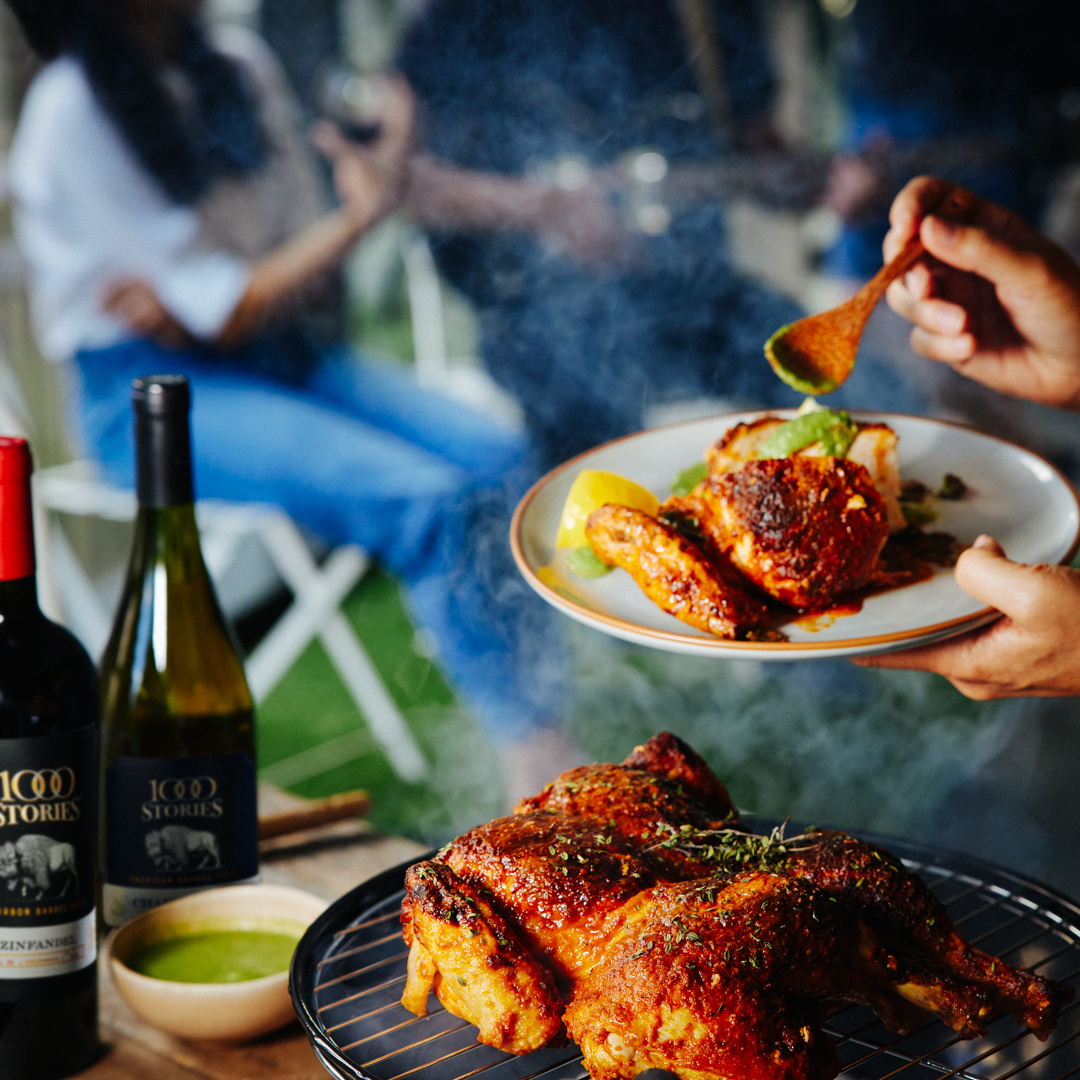
Used Bourbon Barrels:

Barrels: Historically, American oak barrels were always made for Bourbon and Whiskey. The barrels we use are 4-10 years old and have been soaked in Bourbon, with the inside of the barrels blackened or charred to bring out the intensity of the flavors.

Notes: Bourbon barrels impart notes of dried herbs, burnt sugar, caramel, coffee, and vanilla

American Oak:

Barrels: Our American Oak barrels come from Minnesota and have been seasoned outdoors for a minimum of 24 months. Our oak barrels have a medium toast.

Notes: Notes of vanilla, coconut oil, marshmallow and creaminess as well as low levels of tannins, a good match for light-style wines such as our 2020 Pinot Noir.

French Oak:

Barrels: Sourced primarily from France, French oak has a lighter grain and takes longer to impart flavors to the wine. It is widely used in California wines.

Notes: French oak typically imparts darker notes like coffee, mushroom, cocoa powder, dark chocolate, and leather.

Whole Grilled Chicken

Published On - September 7, 2022

By Amy TesconiAmy Tesconi

Let’s just draw a line in the sand now and boldly state that there is no “grilling season.” Spring, summer, fall (winter?) you should get out and grill any time you crave the outdoors and the delicious, smokey flavors of freshly barbecued meats and veggies.

Exploring new ways to grill your favorite dishes is part of the experience.  Recently, we’ve been throwing a whole chicken on the grill and enjoying the juicy flavors alongside crispy, spicy skin. Grilling an entire chicken is easy, but there are tips and tricks to help you get the best result. Check out this basic grilled chicken recipe and our recommendations for getting it just right, then grab a bottle of American Barrel Aged Chardonnay and dinner al fresco is served!

Grilled Chicken:

The method for grilling a chicken is fairly simple: Light the grill (or coals), heat to approximately 400 degree F. Place the bird on the middle of the grill, skin-side up, close the lid and allow to cook for approximately 45 minutes to one hour (depending on size).  Then, check the bird every 5-10 minutes until done.

As they say, the devil is in the details. Below, a few tips:

Spatchcock – This is the method of butterflying (or flattening) the chicken before grilling. If you grill the chicken whole without flattening it, you may get some uneven cooking and dry out the breast. To do this, remove the backbone and then break the breastbone by pressing down on the legs. Some supermarkets sell whole chickens already spatchcocked, and a butcher can usually do this for you.

Oil! – The secret to crispy, delicious chicken skin is oiling it well. We recommend using an oil-based marinade or brushing on a generous amount of olive oil before cooking. You can also soak a paper towel in olive oil and then, using a pair of long metal tongs, brush it directly on the almost-ready grill before adding the chicken.

Go Bold – We’ve already mentioned the chicken skin in this dish, but it really is the star of the show. Your chicken will be even more flavorful if you add bold seasonings, rubs or sauces to the skin prior to cooking. You can add a spicy dry rub after brushing olive oil onto the skin, create a marinade and add a little liquid smoke, or brush on your favorite barbecue sauce a few minutes prior to removing from the grill. The bolder the better!

Use indirect heat – Juicy chicken takes time to roast, so you don’t want it placed directly over a heat source. If you have a gas grill, turn on all burners except the one directly under the bird. On a charcoal grill, you can either use a water bath in the center and arrange coals around it (this also helps keep the bird moist) or layer more coals on one side of the grill than the other, creating a “hot” side and a “cool” side. Place the chicken breast-down on the hot side first, removing after a few minutes and then place skin-side up on the cooler side to cook through.

A meat thermometer is always a good idea so you can check doneness without over-cooking.